TurtleBot3 Burger에 Raspberry Pi Camera Module 2.0을 장착하고 카메라 영상 출력까지 확인했다면, 본격적인 비전 실습 전에 먼저 해야 할 작업이 있습니다. 바로 카메라 캘리브레이션입니다.
카메라 캘리브레이션은 카메라가 가진 렌즈 왜곡, 초점 거리, 중심점 같은 내부 파라미터를 구하는 과정입니다. ROS 2에서는 이 결과가 보통 camera_info 형태로 사용됩니다. camera_calibration 패키지는 ROS 시스템에서 모노 카메라 또는 스테레오 카메라를 체커보드 기준으로 캘리브레이션할 수 있는 도구입니다.
이 글에서는 ROS 2 Humble + TurtleBot3 Burger + Pi Camera 2.0 환경에서 모노 카메라 캘리브레이션을 진행하는 방법을 설명합니다.
1. 왜 캘리브레이션이 필요한가?
카메라 영상이 잘 나온다고 해서 바로 정확한 비전 실습이 가능한 것은 아닙니다. 카메라 렌즈는 실제 직선을 휘어 보이게 만들 수 있고, 영상의 중심점도 이론적인 중앙과 다를 수 있습니다.
캘리브레이션을 하지 않으면 다음 실습에서 오차가 커집니다.
- ArUco Marker 거리 추정
- 라인 트레이싱
- 물체 위치 추정
- 카메라 기반 주행 제어
- Visual Servoing
- 이미지 좌표를 실제 거리로 변환하는 실습
- SLAM 또는 비전 기반 로봇 인식 실습
즉, 영상이 “보이는 것”과 “정확하게 해석되는 것”은 다릅니다. 카메라 캘리브레이션은 이 둘 사이의 차이를 줄이는 작업입니다.
2. 준비물
필요한 것은 많지 않습니다.
| 항목 | 설명 |
|---|---|
| TurtleBot3 Burger | Pi Camera 2.0 장착 완료 상태 |
| ROS 2 Humble | Ubuntu 22.04 기반 환경 권장 |
| Pi Camera Module 2.0 | 영상 출력 확인 완료 상태 |
| 체커보드 | 평평하고 딱딱한 판에 부착 |
| 자 또는 캘리퍼스 | 체커보드 한 칸 크기 측정용 |
| GUI 환경 | cameracalibrator 창을 띄울 수 있어야 함 |
여기서 가장 중요한 것은 체커보드입니다. 종이를 그냥 들고 하면 휘어져서 결과가 나빠집니다. 반드시 두꺼운 종이나 폼보드, 아크릴판, 하드보드지 같은 평평한 판에 붙이는 것이 좋습니다.
3. 패키지 설치
먼저 ROS 2 Humble 환경을 불러옵니다.
source /opt/ros/humble/setup.bash원격 PC에 카메라 캘리브레이션 패키지를 설치합니다.
sudo apt update
sudo apt install ros-humble-camera-calibration ros-humble-image-proc -y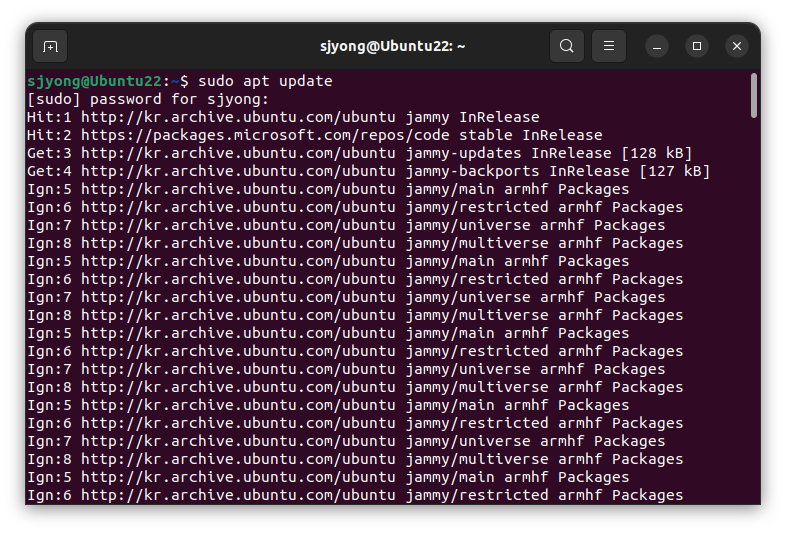
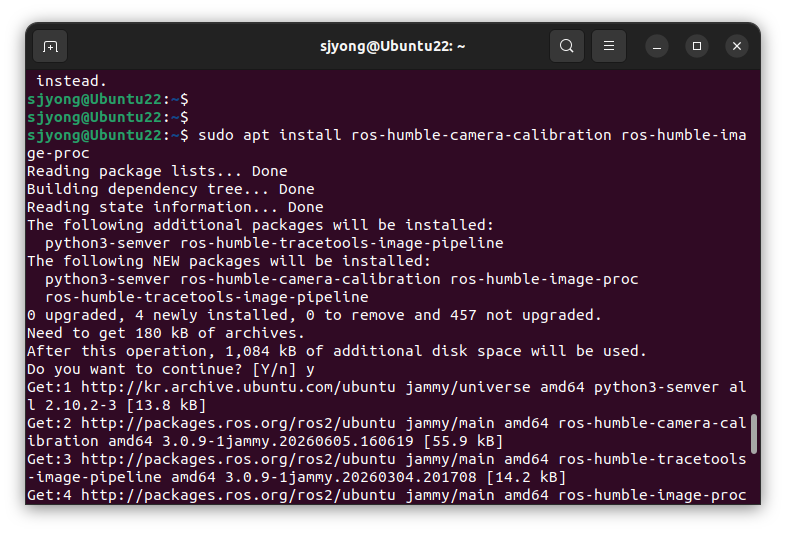
camera_calibration은 ROS 2 Humble에서 image_pipeline 계열 패키지로 제공되며, Humble용 패키지는 AMENT_PYTHON 빌드 타입으로 릴리즈되어 있습니다.
4. 체커보드 준비 방법
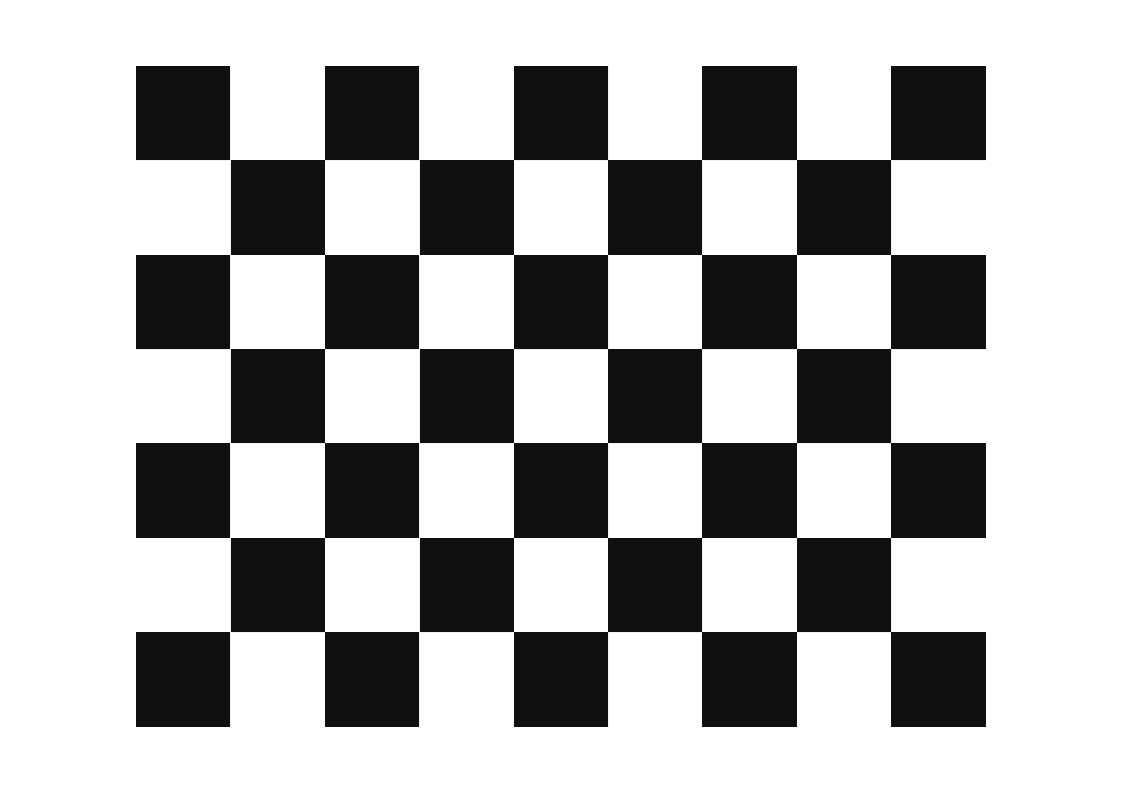
카메라 캘리브레이션에서 제일 많이 틀리는 부분이 --size 값입니다.
--size는 체커보드의 칸 수가 아닙니다.--size는 체커보드의 내부 꼭짓점 개수입니다.
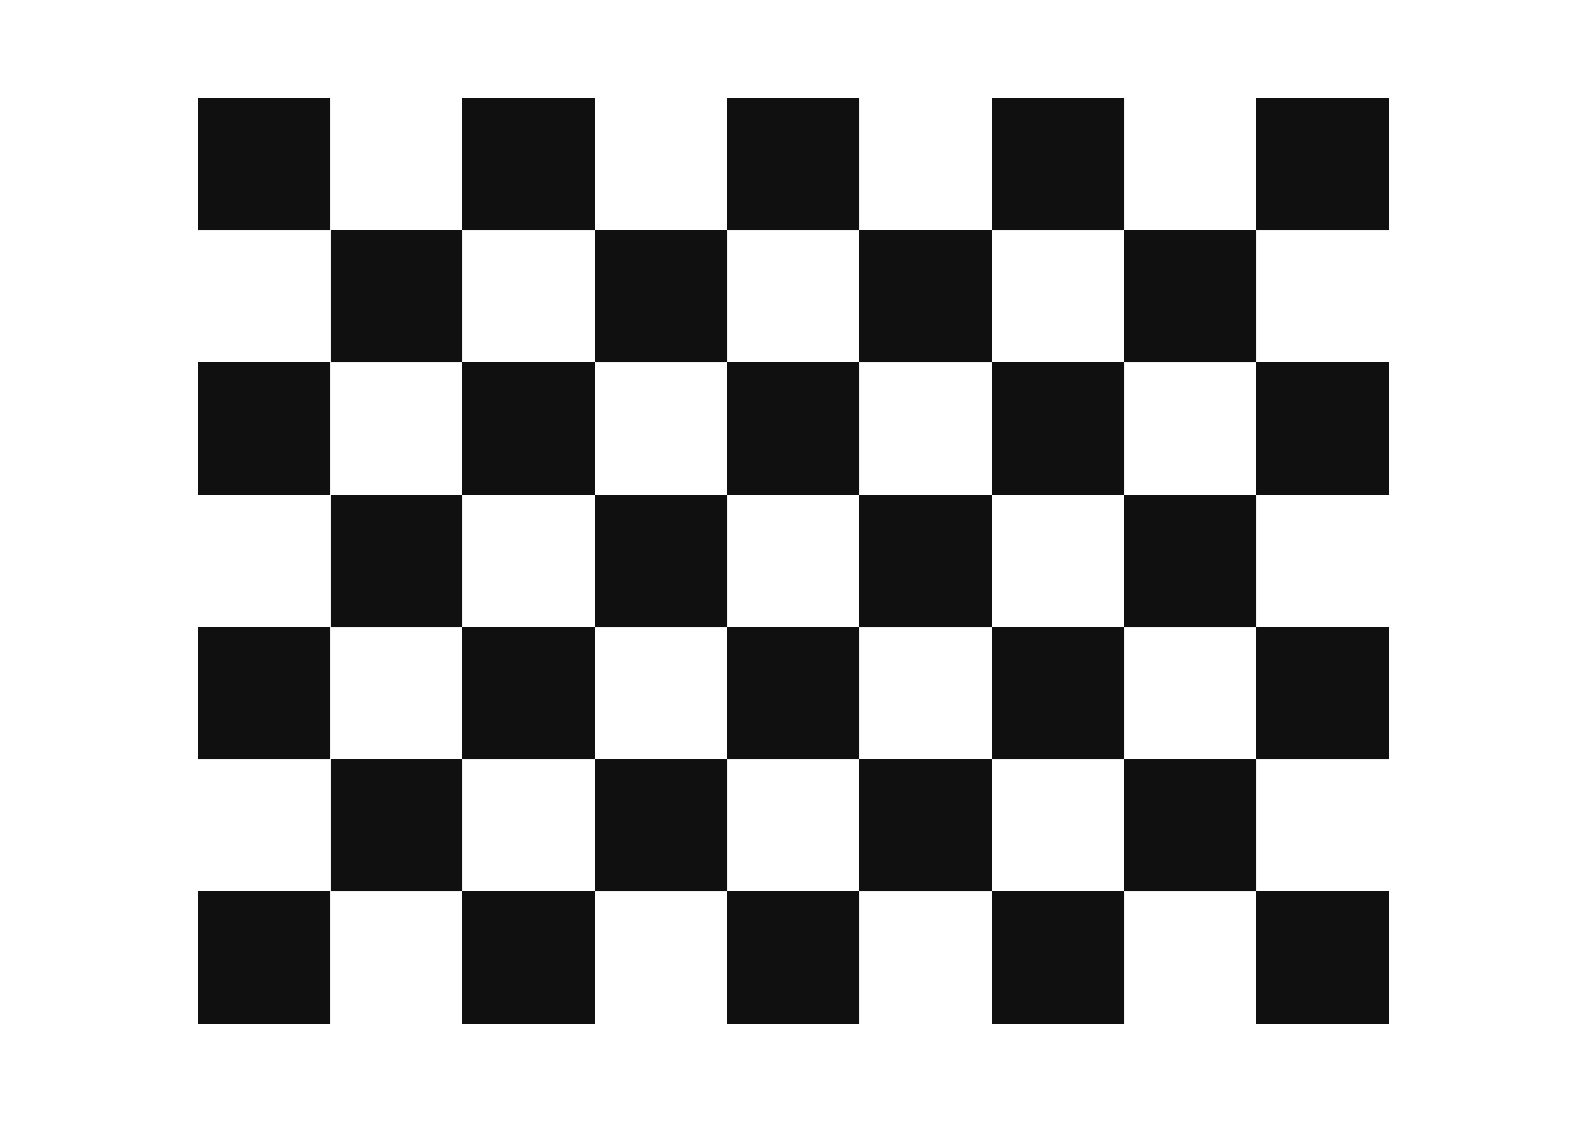
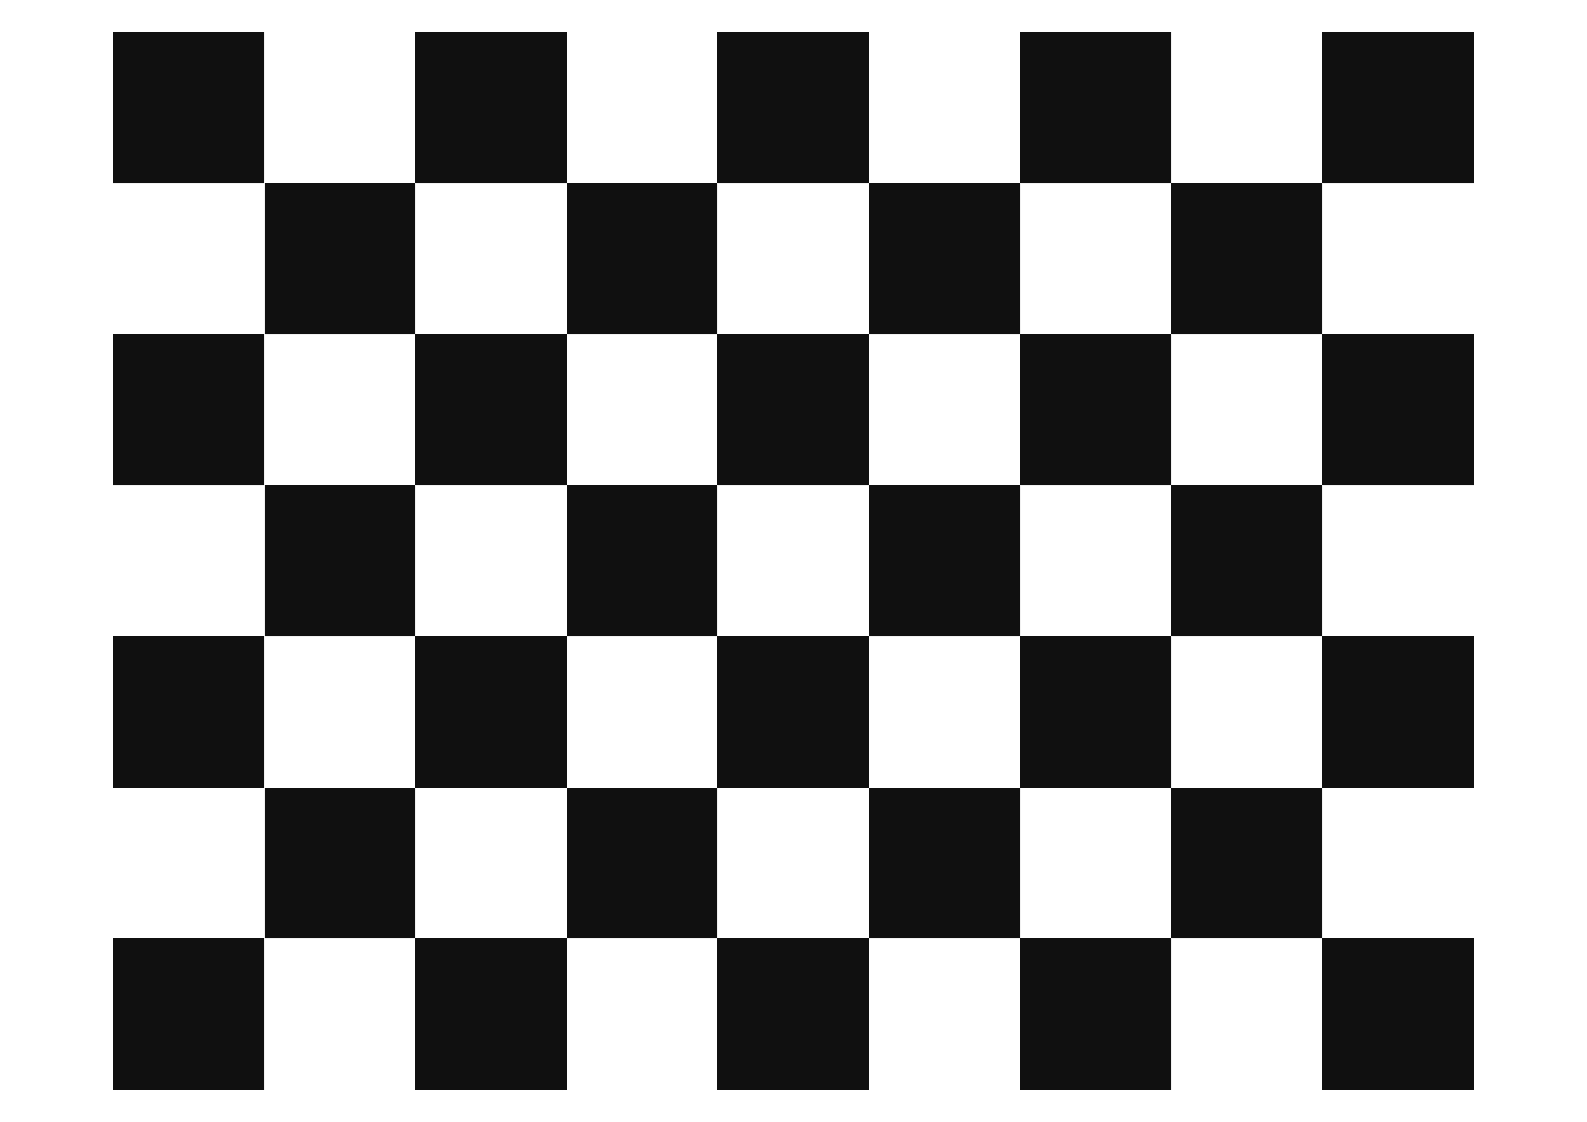
예를 들어 체커보드가 아래처럼 생겼다고 가정합니다.
| 실제 체커보드 칸 수 | 내부 꼭짓점 수 | --size 값 |
| 9 x 7 squares | 8 x 6 inner corners | 8x6 |
| 8 x 10 squares | 7 x 9 inner corners | 7x9 |
| 7 x 6 squares | 6 x 5 inner corners | 6x5 |
ROS 2 캘리브레이션 문서에서도 --size는 내부 코너 수를 의미하고, --square는 체커보드 한 칸의 실제 크기를 미터 단위로 넣는 옵션이라고 설명합니다.
예를 들어 한 칸 크기가 25 mm라면 다음과 같이 입력합니다.
--square 0.025한 칸 크기가 30 mm라면 다음과 같습니다.
--square 0.030TurtleBot3 Burger의 Pi Camera 2.0 실습용으로는 A4에 너무 작은 체커보드를 쓰는 것보다, 가능한 크게 출력하는 것이 좋습니다. 카메라 화각 안에서 체커보드 코너가 선명하게 잡혀야 하기 때문입니다.
권장값은 다음 정도입니다.
--size 8x6
--square 0.025
단, 이 값은 예시입니다. 본인이 출력한 체커보드의 내부 꼭짓점 수와 한 칸 크기를 직접 재서 맞춰야 합니다.

5. 캘리브레이션 실행 명령
1) 카메라 실행
TurtleBot3 Burger에서 카메라 드라이버를 실행합니다.
ros2 launch turtlebot3_bringup camera.launch.py format:=BGR888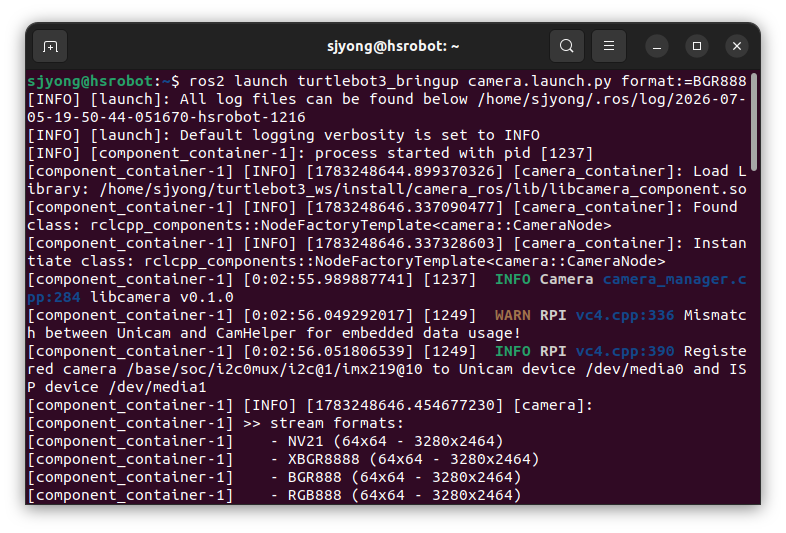
일반적인 실행 명령은 다음과 같습니다.
ros2 run camera_calibration cameracalibrator \
  --size 8x6 \
  --square 0.03 \
  --no-service-check \
  --ros-args \
  -r image:=/camera/image_raw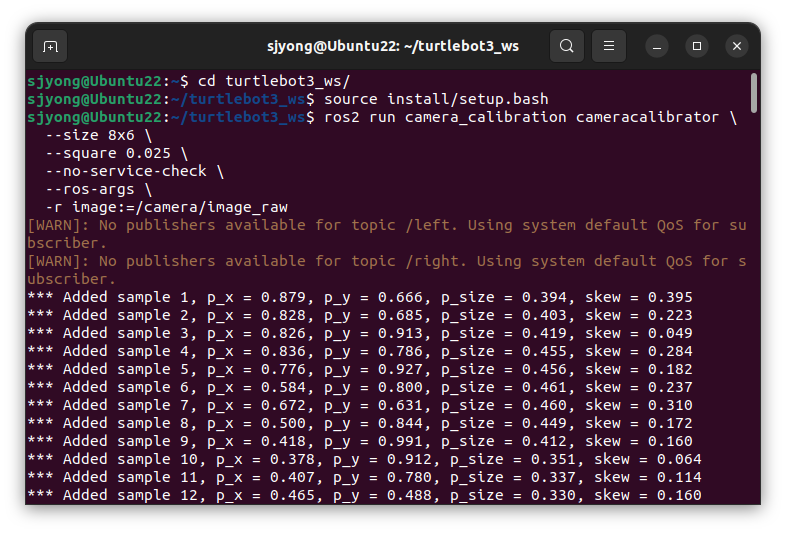
여기서 수정해야 할 부분은 세 가지입니다.
| 항목 | 의미 |
--size 8x6 | 체커보드 내부 꼭짓점 수 |
--square 0.04 | 체커보드 한 칸 크기, 단위는 m |
/camera/image_raw | 현재 카메라 이미지 토픽 이름 |
--no-service-check를 넣은 이유는 실습 환경에서 카메라 드라이버가 set_camera_info 서비스를 제공하지 않는 경우가 있기 때문입니다. 이 옵션을 넣으면 캘리브레이션 결과를 SAVE로 파일 저장하는 방식으로 안정적으로 진행할 수 있습니다. 공식 튜토리얼에서도 서비스 문제로 창이 열리지 않을 때 --no-service-check 사용을 안내합니다.
만약 사용하는 카메라 드라이버가 /camera/set_camera_info 서비스를 제대로 지원한다면 아래처럼 실행해도 됩니다.
ros2 run camera_calibration cameracalibrator \
  --size 8x6 \
  --square 0.04 \
  --ros-args \
  -r image:=/camera/image_raw
하지만 TurtleBot3 실습에서는 일단 --no-service-check를 붙이고 SAVE 방식으로 처리하는 쪽이 더 단순합니다.
6. 캘리브레이션 창에서 해야 할 일
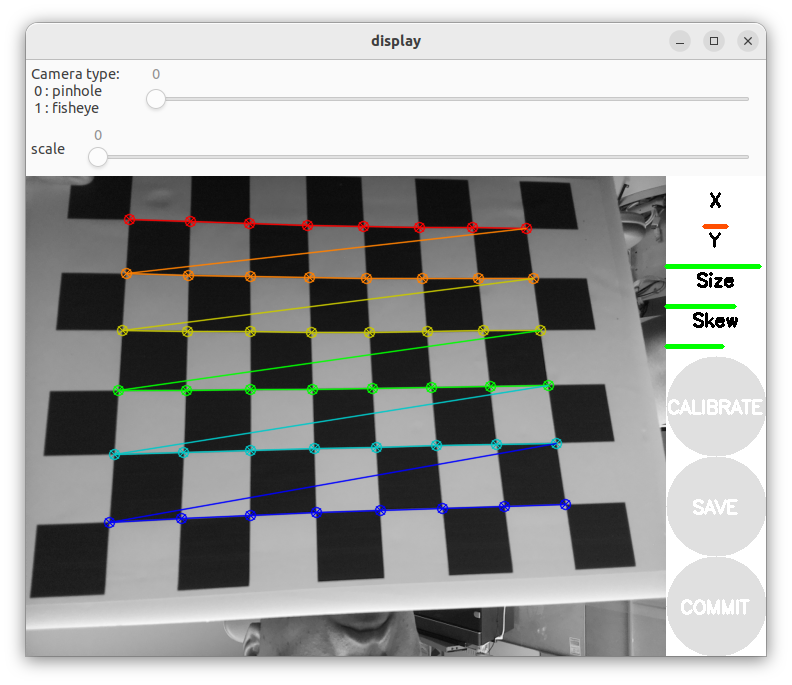
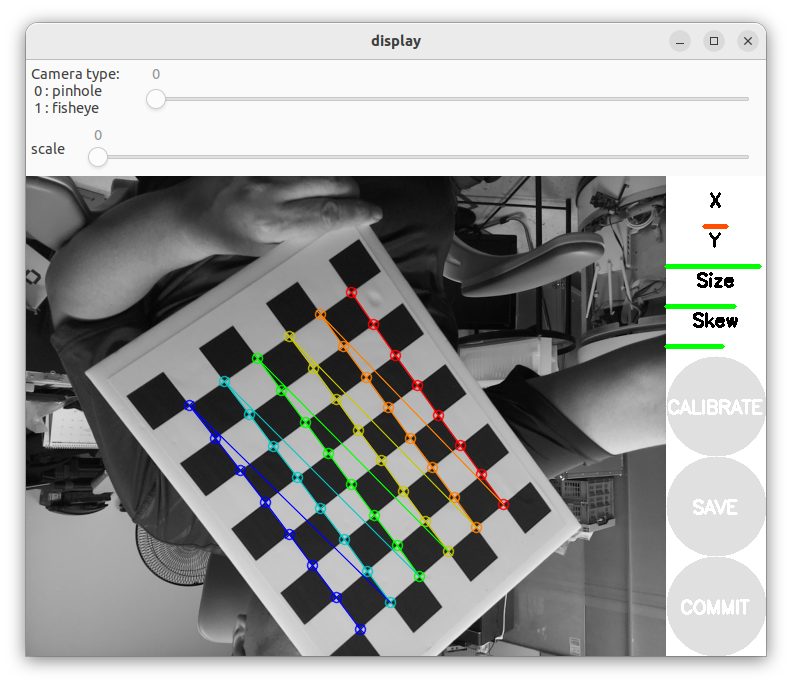
명령을 실행하면 캘리브레이션 GUI 창이 열립니다. 여기서 체커보드를 카메라 앞에서 움직이며 데이터를 모읍니다.
중요한 것은 체커보드를 그냥 중앙에만 들고 있으면 안 된다는 점입니다. 체커보드를 화면 전체에 골고루 보여줘야 합니다.
다음 위치를 모두 포함해야 합니다.
- 화면 왼쪽
- 화면 오른쪽
- 화면 위쪽
- 화면 아래쪽
- 화면 중앙
- 카메라에 가까운 위치
- 카메라에서 먼 위치
- 체커보드를 좌우로 기울인 상태
- 체커보드를 위아래로 기울인 상태
- 화면을 크게 채운 상태
- 화면에서 작게 보이는 상태
ROS 2 튜토리얼에서도 좋은 캘리브레이션을 위해 체커보드를 시야의 좌우, 상하, 가까운 곳과 먼 곳, 기울어진 상태까지 골고루 움직이라고 설명합니다.
GUI 오른쪽에는 보통 다음과 같은 막대가 표시됩니다.
| 항목 | 의미 |
| X | 좌우 방향 데이터 |
| Y | 상하 방향 데이터 |
| Size | 거리 변화 데이터 |
| Skew | 기울기 데이터 |
이 막대들이 충분히 차면 CALIBRATE 버튼이 활성화됩니다. 공식 튜토리얼 기준으로 모든 막대가 충분히 채워지면 CALIBRATE 버튼이 켜지고, 이후 계산이 진행됩니다.
7. 체커보드 움직이는 요령
실제로 해보면 여기서 결과 품질이 갈립니다.
가장 좋은 방식은 다음 순서입니다.
1단계: 중앙에서 시작
체커보드를 화면 중앙에 놓고 코너가 안정적으로 잡히는지 봅니다.
2단계: 좌우 이동
체커보드를 왼쪽 끝, 오른쪽 끝으로 천천히 이동합니다.
이때 체커보드 전체가 화면 밖으로 나가지 않게 합니다.
3단계: 상하 이동
체커보드를 위쪽, 아래쪽으로 이동합니다.
카메라가 TurtleBot3 Burger 전면에 낮게 달려 있다면 아래쪽 프레임 확보가 어려울 수 있으니, 로봇을 책상 위에 두거나 체커보드 위치를 조절하는 것이 좋습니다.
4단계: 거리 변화
체커보드를 카메라 가까이 가져갔다가 멀리 이동합니다.
너무 가까우면 코너가 잘리지 않고, 너무 멀면 코너가 작아서 검출이 불안정해집니다.
5단계: 기울이기
체커보드를 정면으로만 보여주면 안 됩니다.
좌우, 위아래로 살짝 기울여야 렌즈 왜곡 추정이 좋아집니다.
6단계: 잠깐 멈추기
체커보드를 계속 흔들면 좋은 샘플이 잘 안 잡힙니다.
각 위치에서 1초 정도 멈춰주는 것이 좋습니다.
8. CALIBRATE, SAVE, COMMIT 차이
캘리브레이션 창에는 보통 세 개의 버튼이 있습니다.
| 버튼 | 의미 |
CALIBRATE | 수집한 데이터로 내부 파라미터 계산 |
SAVE | 결과를 파일로 저장 |
COMMIT | 카메라 드라이버의 set_camera_info 서비스로 결과 업로드 |
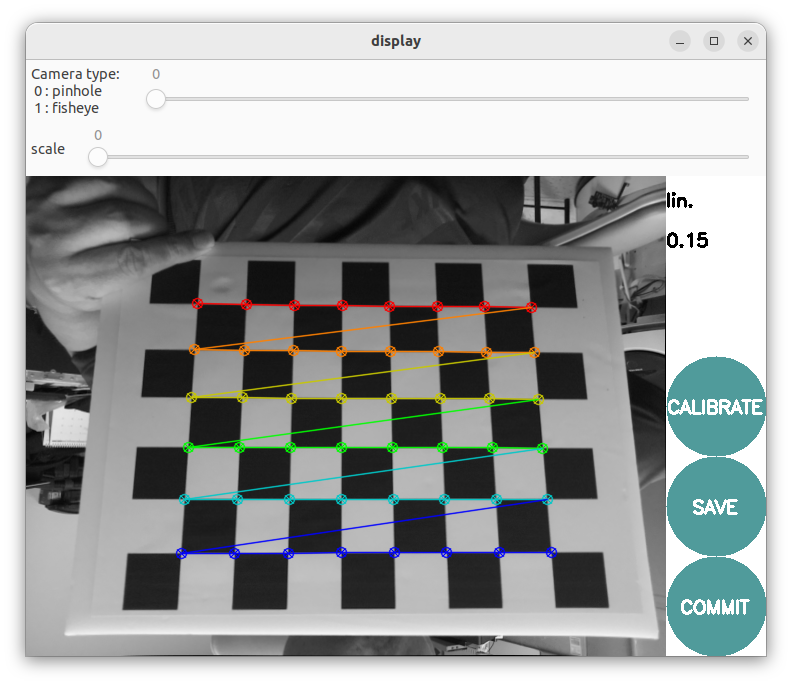
TurtleBot3 Burger + Pi Camera 2.0 실습에서는 보통 SAVE를 기준으로 진행하면 됩니다.
CALIBRATE를 누른 뒤 결과가 나오면 SAVE를 누릅니다. 그러면 결과가 보통 아래 경로에 저장됩니다.
/tmp/calibrationdata.tar.gz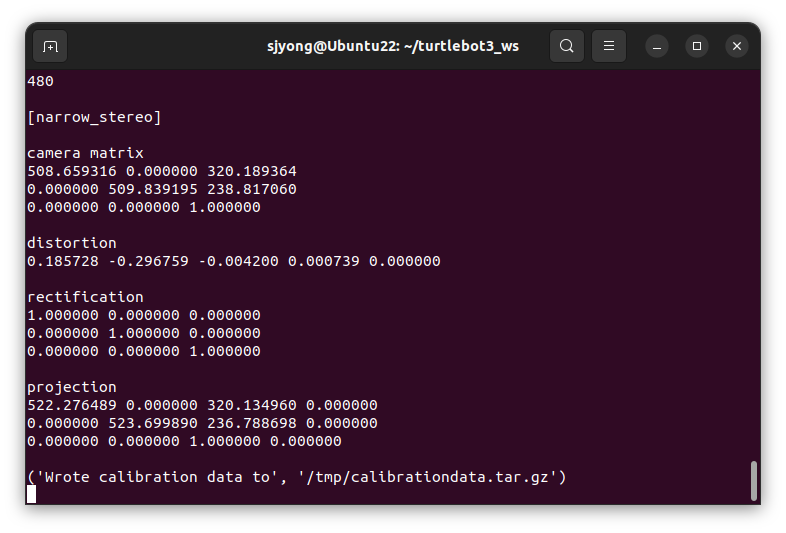
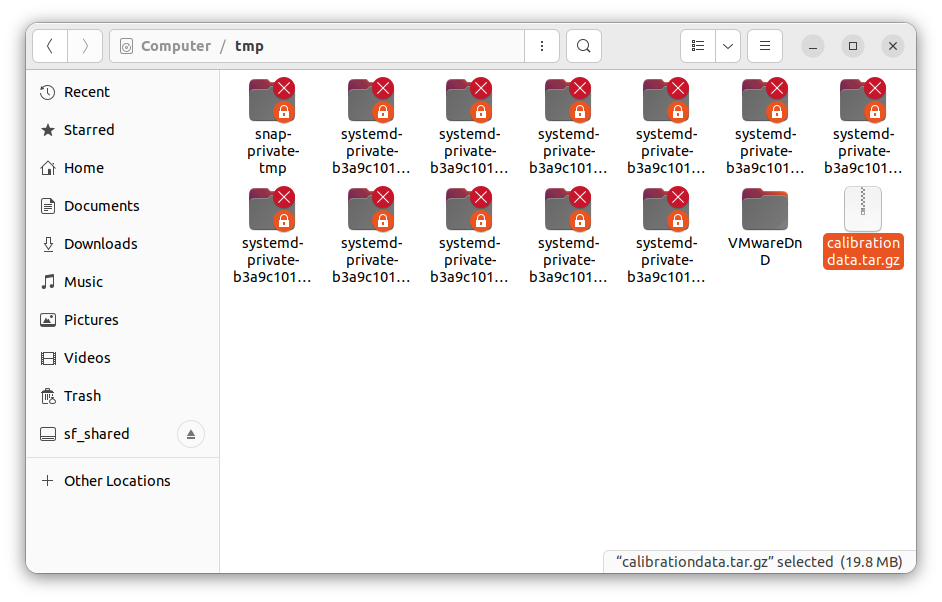
공식 튜토리얼에서도 SAVE 버튼을 누르면 /tmp/calibrationdata.tar.gz에 저장되고, 압축을 풀면 ost.yaml, ost.txt, 캘리브레이션에 사용된 이미지가 나온다고 설명합니다.
압축을 풉니다.
cd /tmp
tar -xzf calibrationdata.tar.gz
압축을 풀면 보통 다음 파일이 생깁니다.
ost.yaml
ost.txt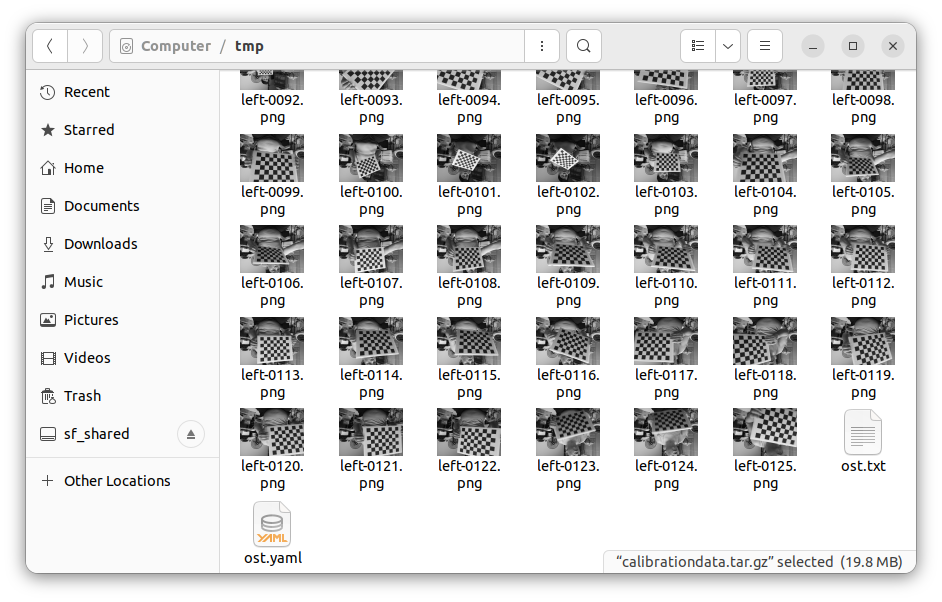
이 중 ROS 2 카메라 드라이버에 연결해서 사용할 파일은 보통 ost.yaml입니다.
9. 캘리브레이션 파일 정리
/tmp 폴더는 임시 폴더입니다. 재부팅하거나 시간이 지나면 파일이 사라질 수 있습니다. 따라서 캘리브레이션 결과는 별도 폴더에 보관하는 것이 좋습니다.
예를 들어 다음처럼 저장합니다.
TurtleBot3에 원격으로 접속합니다.
mkdir -p ~/turtlebot3_ws/camera_info
cp /tmp/ost.yaml ~/turtlebot3_ws/camera_info/tb3_burger_picam2_640x480.yaml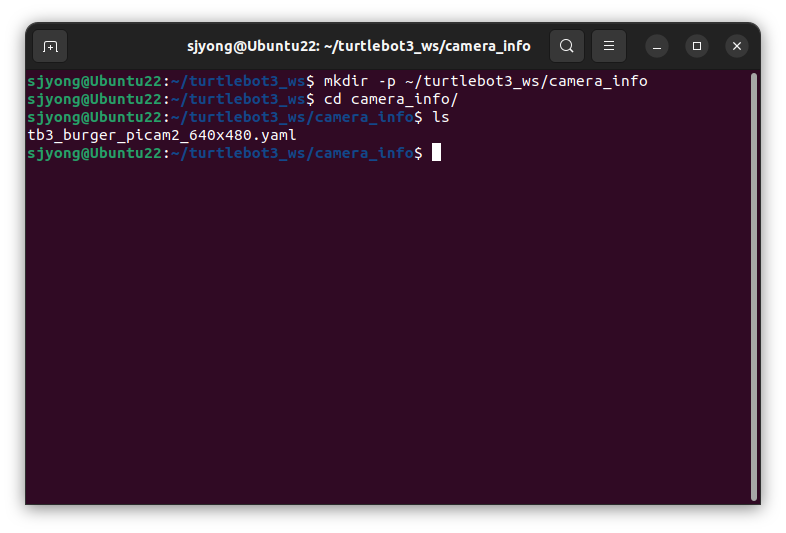
cd turtlebot3_ws
mkdir -p camera_info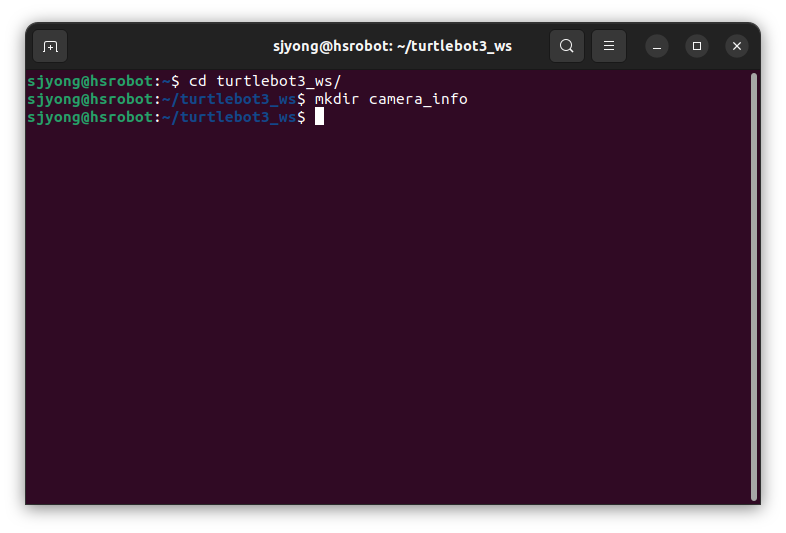
원격 PC에서 로봇으로 캘리브레이션 파일을 복사합니다.
scp tb3_burger_picam2_640x480.yaml sjyong@192.168.200.28:/home/sjyong/urtlebot3_ws/camera_info/tb3_burger_picam2_640x480.yaml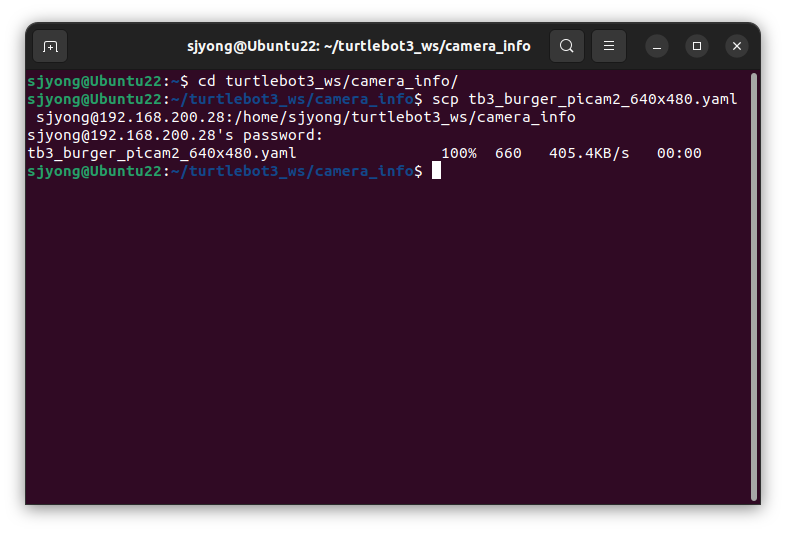
파일 이름은 나중에 알아보기 쉽게 정합니다.
권장 파일명 예시는 다음과 같습니다.
tb3_burger_picam2_640x480.yaml
tb3_burger_picam2_1280x720.yaml
여기서 중요한 점은 해상도별로 캘리브레이션 파일을 따로 관리해야 한다는 것입니다.
예를 들어 640×480 해상도에서 캘리브레이션한 파일을 1280×720 실습에 그대로 쓰면 정확도가 떨어집니다. 카메라 내부 파라미터는 이미지 해상도, 크롭, 스케일링 조건에 영향을 받기 때문입니다.
10. YAML 파일 구조 이해
ost.yaml 파일을 열어보면 대략 다음 구조입니다.
image_width: 640
image_height: 480
camera_name: camera

camera_matrix:
  rows: 3
  cols: 3
  data: [fx, 0.0, cx,
         0.0, fy, cy,
         0.0, 0.0, 1.0]

distortion_model: plumb_bob

distortion_coefficients:
  rows: 1
  cols: 5
  data: [k1, k2, p1, p2, k3]

rectification_matrix:
  rows: 3
  cols: 3
  data: [...]

projection_matrix:
  rows: 3
  cols: 4
  data: [...]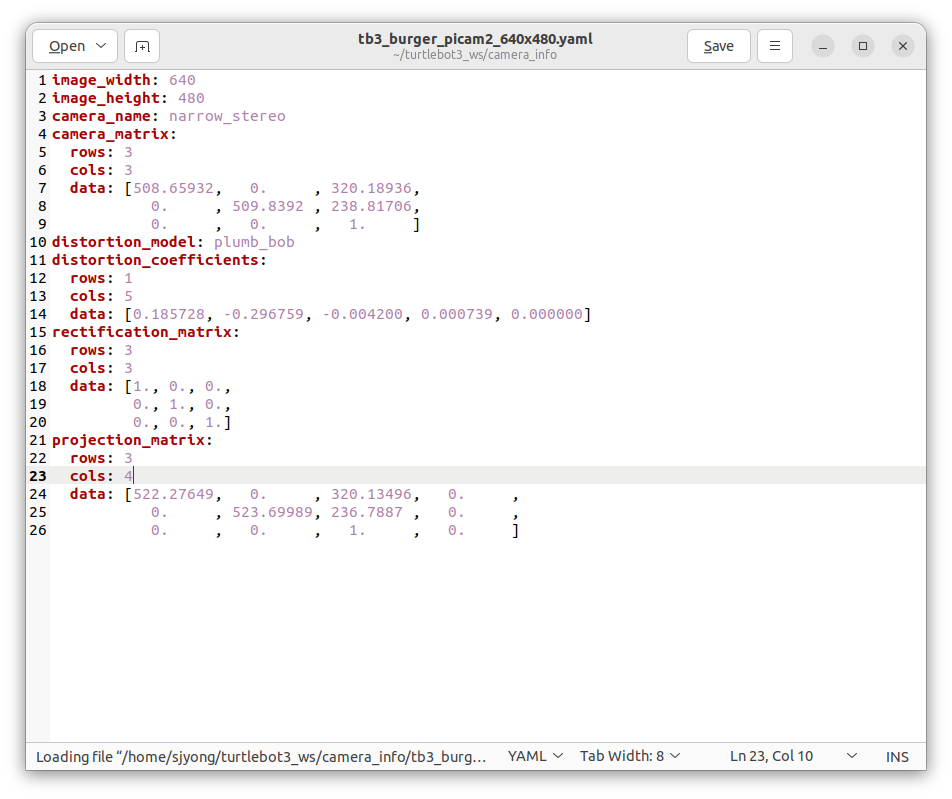
각 항목의 의미는 다음과 같습니다.
| 항목 | 의미 |
image_width | 캘리브레이션 당시 이미지 가로 해상도 |
image_height | 캘리브레이션 당시 이미지 세로 해상도 |
camera_name | 카메라 이름 |
camera_matrix | 내부 파라미터 행렬 |
distortion_model | 렌즈 왜곡 모델 |
distortion_coefficients | 렌즈 왜곡 계수 |
rectification_matrix | 보정 행렬 |
projection_matrix | 투영 행렬 |
여기서 가장 많이 보게 되는 값은 camera_matrix와 distortion_coefficients입니다.
camera_matrix에는 보통 다음 값이 들어갑니다.
fx, fy: 초점 거리 계수
cx, cy: 영상 중심점distortion_coefficients에는 렌즈 왜곡을 보정하기 위한 값이 들어갑니다.
11. 카메라 드라이버에 캘리브레이션 파일 적용
일반적으로 Raspberry Pi Camera를 camera_ros 방식으로 사용할 때 turtlebot3_bringup camera.launch.py를 실행합니다.
현재 Humble 브랜치의 camera.launch.py는 camera_ros 패키지의 composable node인 camera::CameraNode를 실행하고, 기본 파라미터로 camera, sensor_mode, width, height, format 등을 넣는 구조입니다.
여기에 camera_info_url 파라미터를 추가해야 합니다.
아래의 폴더를 생성합니다.
1) 캘리브레이션 YAML 파일을 TurtlrBot3에 복사
mkdir -p ~/turtlebot3_ws/src/turtlebot3/turtlebot3_bringup/config
cp ~/turtlebot3_ws/camera_info/tb3_burger_picam2_640x480.yaml ~/turtlebot3_ws/src/turtlebot3/turtlebot3_bringup/config/tb3_burger_picam2_640x480.yaml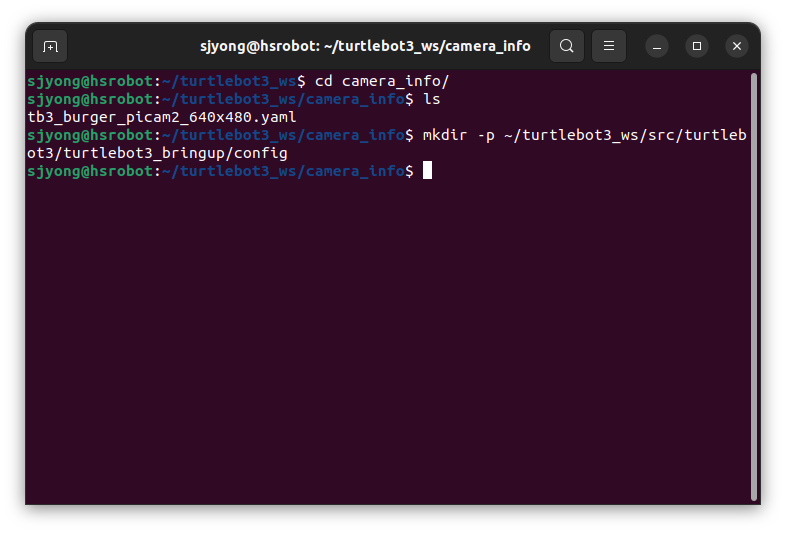
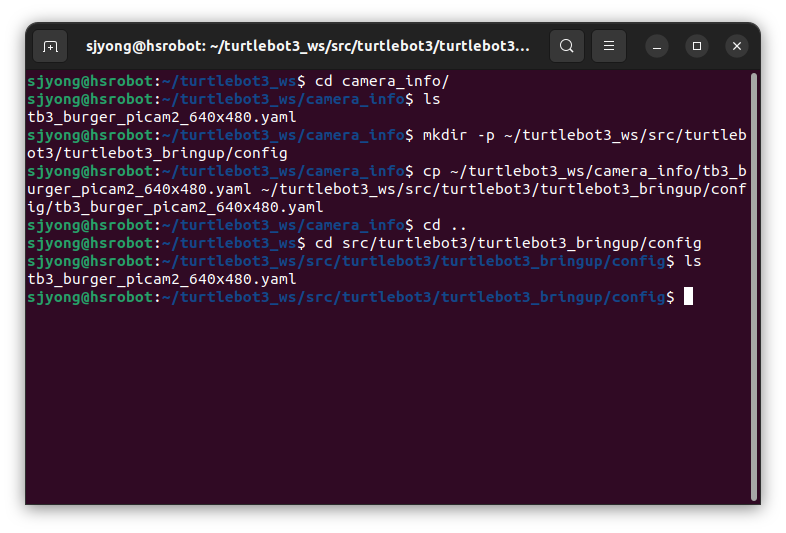
최종 파일 경로는 이렇게 됩니다.
/home/sjyong/turtlebot3_ws/src/turtlebot3/turtlebot3_bringup/config/tb3_burger_picam2_640x480.yamlcamera_info_url에 넣을 때는 이렇게 써야 합니다.
file:///home/sjyong/turtlebot3_ws/src/turtlebot3/turtlebot3_bringup/config/tb3_burger_picam2_640x480.yaml2) camera.launch.py 수정
nano ~/turtlebot3_ws/src/turtlebot3/turtlebot3_bringup/launch/camera.launch.py아래 코드로 camera.launch.py 전체를 교체하시면 됩니다.
#!/usr/bin/env python3
#
# Copyright 2025 ROBOTIS CO., LTD.
#
# Licensed under the Apache License, Version 2.0

from ament_index_python.resources import has_resource

from launch.actions import DeclareLaunchArgument
from launch.conditions import IfCondition
from launch.launch_description import LaunchDescription
from launch.substitutions import EnvironmentVariable
from launch.substitutions import LaunchConfiguration
from launch.substitutions import TextSubstitution

from launch_ros.actions import ComposableNodeContainer
from launch_ros.descriptions import ComposableNode


def generate_launch_description() -> LaunchDescription:
    camera_param_name = 'camera'
    camera_param_default = str(0)
    camera_param = LaunchConfiguration(
        camera_param_name,
        default=camera_param_default,
    )

    camera_launch_arg = DeclareLaunchArgument(
        camera_param_name,
        default_value=camera_param_default,
        description='camera ID or name'
    )

    format_param_name = 'format'
    format_param_default = str()
    format_param = LaunchConfiguration(
        format_param_name,
        default=format_param_default,
    )

    format_launch_arg = DeclareLaunchArgument(
        format_param_name,
        default_value=format_param_default,
        description='pixel format'
    )

    use_image_view_name = 'use_image_view'
    use_image_view_default = 'false'
    use_image_view_param = LaunchConfiguration(use_image_view_name)

    use_image_view_launch_arg = DeclareLaunchArgument(
        use_image_view_name,
        default_value=use_image_view_default,
        description='Whether to launch image_view (true/false)'
    )

    width_name = 'width'
    width_default = '640'
    width_param = LaunchConfiguration(width_name)

    width_launch_arg = DeclareLaunchArgument(
        width_name,
        default_value=width_default,
        description='Camera image width'
    )

    height_name = 'height'
    height_default = '480'
    height_param = LaunchConfiguration(height_name)

    height_launch_arg = DeclareLaunchArgument(
        height_name,
        default_value=height_default,
        description='Camera image height'
    )

    camera_info_url_name = 'camera_info_url'
    camera_info_url_param = LaunchConfiguration(camera_info_url_name)

    camera_info_url_launch_arg = DeclareLaunchArgument(
        camera_info_url_name,
        default_value=[
            TextSubstitution(text='file://'),
            EnvironmentVariable('HOME'),
            TextSubstitution(
                text='/turtlebot3_ws/src/turtlebot3/turtlebot3_bringup/config/tb3_burger_picam2_640x480.yaml'
            ),
        ],
        description='URL of camera calibration YAML file'
    )

    composable_nodes = [
        ComposableNode(
            package='camera_ros',
            plugin='camera::CameraNode',
            name='camera',
            parameters=[{
                'camera': camera_param,
                'sensor_mode': '1640:1232',
                'width': width_param,
                'height': height_param,
                'format': format_param,
                'camera_info_url': camera_info_url_param,
                'frame_id': 'camera_optical_frame',
            }],
            extra_arguments=[{'use_intra_process_comms': True}],
        ),
    ]

    if has_resource('packages', 'image_view'):
        composable_nodes.append(
            ComposableNode(
                package='image_view',
                plugin='image_view::ImageViewNode',
                remappings=[
                    ('/image', '/camera/image_raw'),
                ],
                extra_arguments=[{'use_intra_process_comms': True}],
                condition=IfCondition(use_image_view_param),
            )
        )

    container = ComposableNodeContainer(
        name='camera_container',
        namespace='',
        package='rclcpp_components',
        executable='component_container',
        composable_node_descriptions=composable_nodes,
    )

    return LaunchDescription([
        camera_launch_arg,
        format_launch_arg,
        use_image_view_launch_arg,
        width_launch_arg,
        height_launch_arg,
        camera_info_url_launch_arg,
        container,
    ])
기존 파일 대비 바뀐 부분은 4개입니다
첫 번째, import가 추가됐습니다.
from launch.substitutions import EnvironmentVariable
from launch.substitutions import TextSubstitution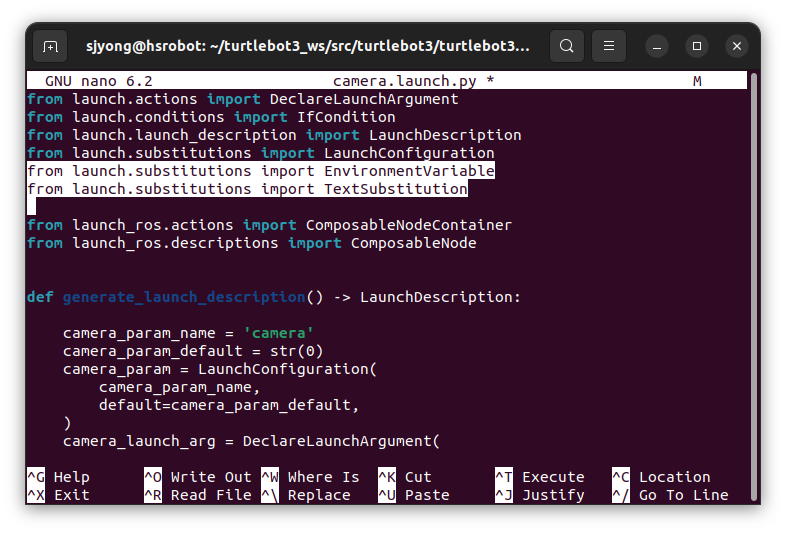
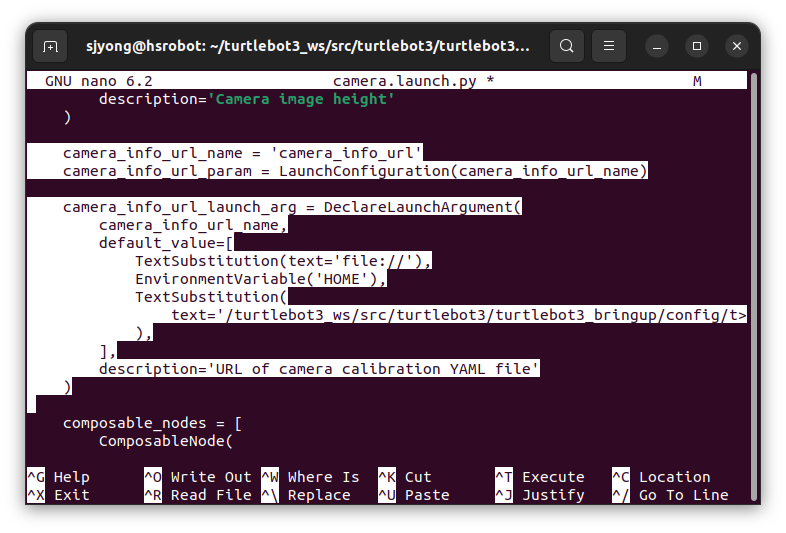
두 번째, camera_info_url launch argument가 추가됐습니다.
camera_info_url_name = 'camera_info_url'
camera_info_url_param = LaunchConfiguration(camera_info_url_name)

camera_info_url_launch_arg = DeclareLaunchArgument(
    camera_info_url_name,
    default_value=[
        TextSubstitution(text='file://'),
        EnvironmentVariable('HOME'),
        TextSubstitution(
            text='/turtlebot3_ws/src/turtlebot3/turtlebot3_bringup/config/tb3_burger_picam2_640x480.yaml'
        ),
    ],
    description='URL of camera calibration YAML file'
)
세 번째, CameraNode 파라미터에 camera_info_url이 들어갔습니다.
'camera_info_url': camera_info_url_param,네 번째, frame_id도 명시했습니다.
'frame_id': 'camera_optical_frame',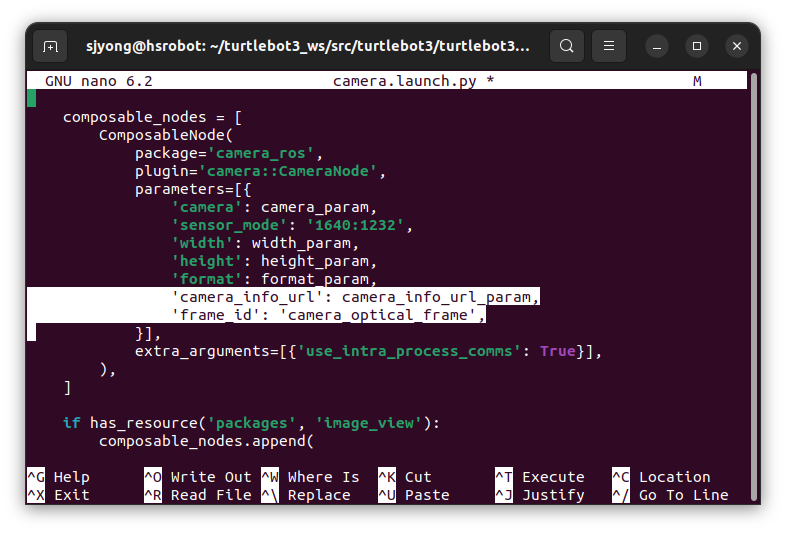
camera_ros는 camera_info_url뿐 아니라 frame_id, width, height, sensor_mode, format 같은 정적 카메라 스트림 설정 파라미터를 지원합니다.
camera_info_url_launch_arg,argument도 추가합니다.
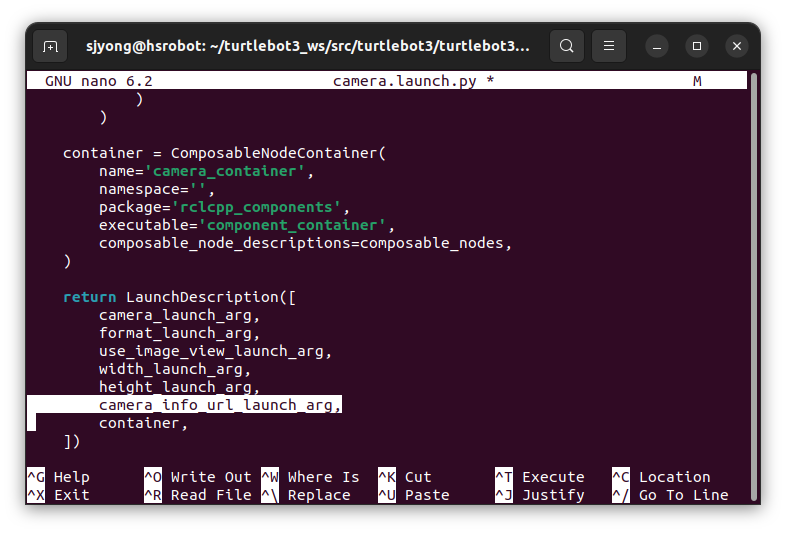
3) 빌드
수정 후 TurtleBot3 Raspberry Pi에서 빌드합니다.
cd ~/turtlebot3_ws
colcon build --symlink-install --packages-select turtlebot3_bringup
source ~/turtlebot3_ws/install/setup.bash
이제 기존처럼 실행하면 됩니다.
ros2 launch turtlebot3_bringup camera.launch.py format:=BGR888위 수정본에서는 기본 캘리브레이션 파일을 다음 위치에서 읽습니다.
/home/ubuntu/turtlebot3_ws/src/turtlebot3/turtlebot3_bringup/config/tb3_burger_picam2_640x480.yamllaunch 내부에서는 이것이 자동으로 아래 URL로 변환됩니다.
file:///home/ubuntu/turtlebot3_ws/src/turtlebot3/turtlebot3_bringup/config/tb3_burger_picam2_640x480.yaml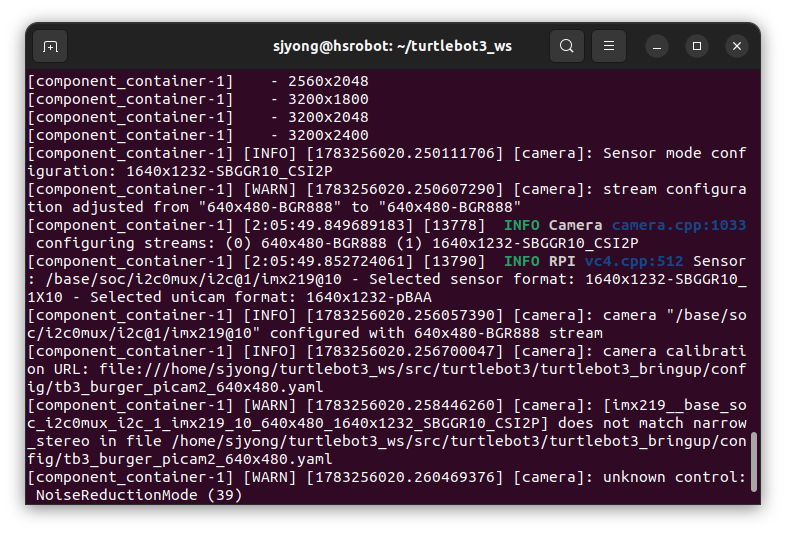
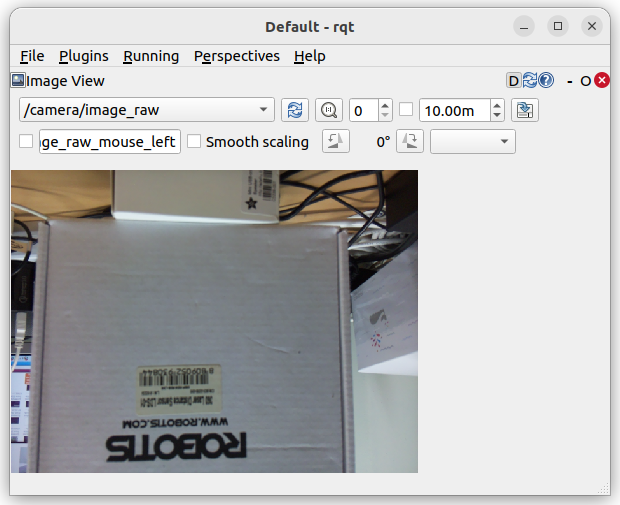
4) 실행할 때 다른 캘리브레이션 파일을 지정하는 방법입니다
해상도별로 YAML을 여러 개 둘 경우에는 launch 파일을 매번 수정하지 말고 실행할 때 넘기는 방식이 좋습니다.
예를 들어 640×480 캘리브레이션 파일을 쓸 때:
ros2 launch turtlebot3_bringup camera.launch.py \
  width:=640 \
  height:=480 \
  camera_info_url:=file:///home/ubuntu/turtlebot3_ws/src/turtlebot3/turtlebot3_bringup/config/tb3_burger_picam2_640x480.yaml
1280×720 파일을 쓸 때:
ros2 launch turtlebot3_bringup camera.launch.py \
  width:=1280 \
  height:=720 \
  camera_info_url:=file:///home/ubuntu/turtlebot3_ws/src/turtlebot3/turtlebot3_bringup/config/tb3_burger_picam2_1280x720.yaml
캘리브레이션 파일은 해상도와 맞춰 쓰는 게 맞습니다.